Connect Website with Brevo

Business Scenario
Hello, everyone! Right now, our Brevo account and our website don't actually know about each other — we've been importing leads manually. Today we connect them properly.
First, we'll authenticate our domain by adding some DNS records Brevo gives us into Hostinger. Then we'll install the Brevo plugin on our WordPress site and connect it with an API key. Finally, we'll turn on website tracking, so Brevo can see exactly which pages our contacts are visiting — the same idea as the Meta Pixel and Google Tag, but for Brevo.
Let's start in Brevo

Pre-Lab Preparation
Topic : Email Marketing
1) Benefits of Email Marketing
2) Email List Development | Opt-ins
3) Email Marketing Setup
4) Email Marketing Automation Sequence
5) Connect website with Brevo
6) Email Marketing Automation Drip
Add the Domain in Brevo and Get the CNAME Records
1
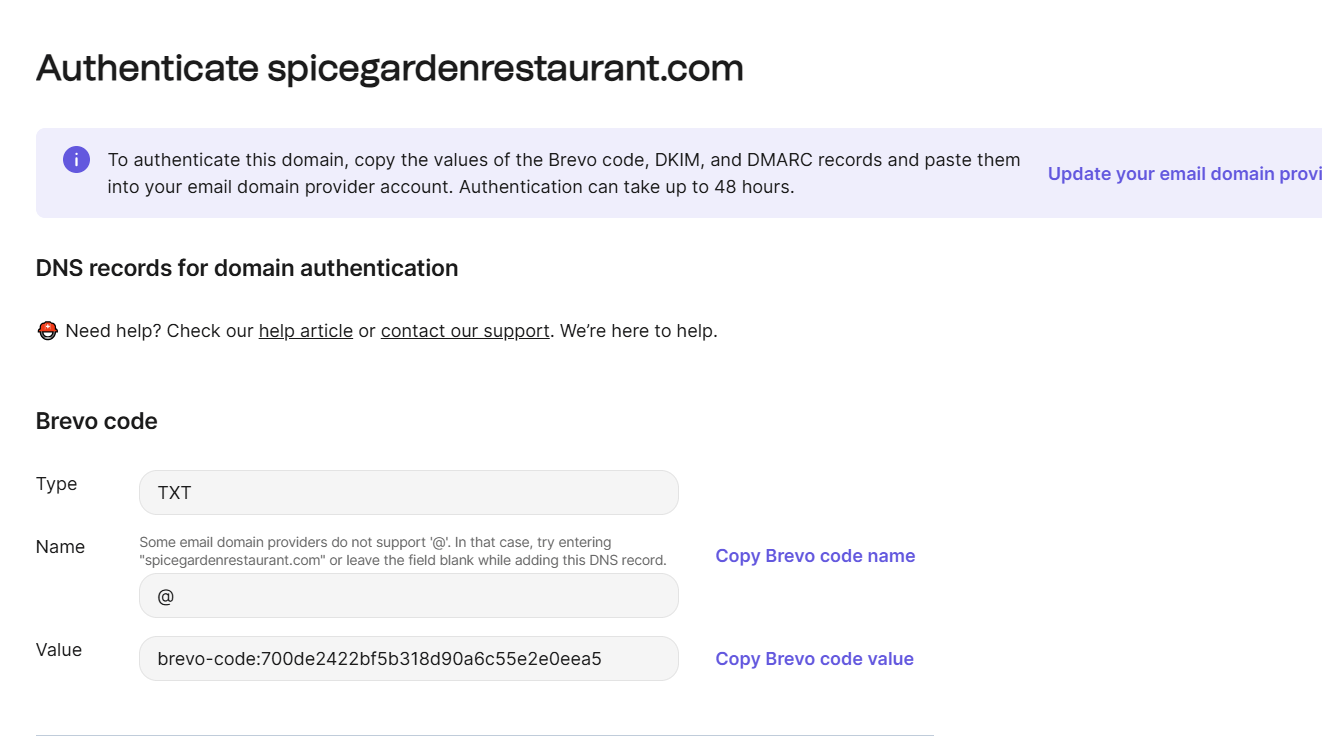
Before sending emails as spicegardenrestaurant.com, Brevo needs proof that this account is allowed to send on that domain's behalf.
- In Brevo, go to Senders & Domains → Domains → Add a Domain.
Task 1 : Connect the Spice Garden Website with Brevo
- Enter spicegardenrestaurant.com.
- Brevo generates a set of CNAME records — copy each Host/Name and Value pair exactly.
Add the CNAME Records in Hostinger's DNS Zone
2
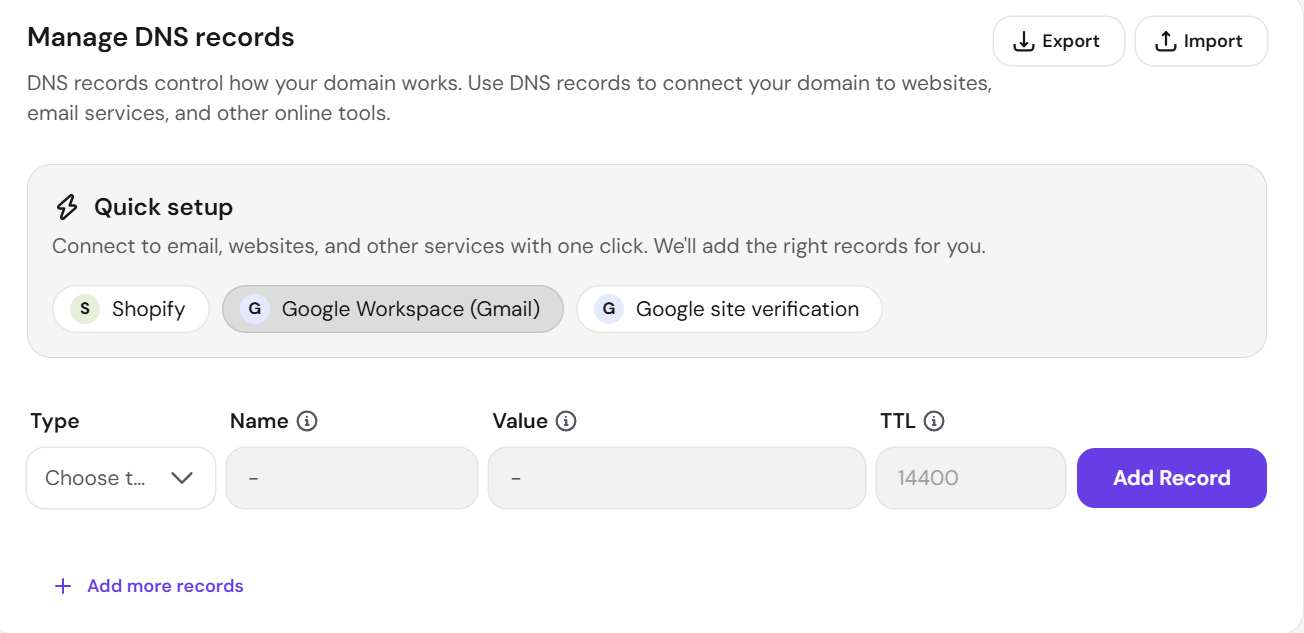
These records have to live in the DNS zone for spicegardenrestaurant.com, which is managed inside Hostinger since that's where the domain is hosted.
- Log in to Hostinger hPanel → Domains → DNS Zone.
- Click Add Record, and select CNAME as the type.
- Paste the Host/Name from Brevo into the Name field, and the Value into the Points To field.
- Repeat for each CNAME record Brevo provided.
- Save each record
Verify the Domain in Brevo
3
- Return to Brevo → Senders & Domains → Domains.
- Click Verify next to spicegardenrestaurant.com.
- Confirm the status changes to "Domain Authenticated" once DNS has propagated.
Generate the Brevo API Key
4
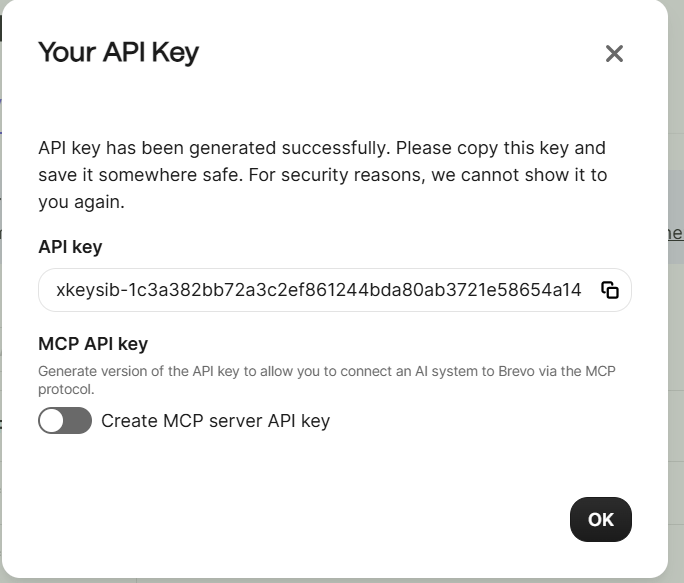
The API key is what lets the WordPress plugin securely talk to this specific Brevo account.
- Go to Brevo → SMTP & API → API Keys → Generate a New API Key.
- Name it clearly: "SGR – WordPress Integration."
- Copy the generated key and store it somewhere safe — it will only be shown once in full.
Install and Activate the Brevo Plugin on WordPress
5
-
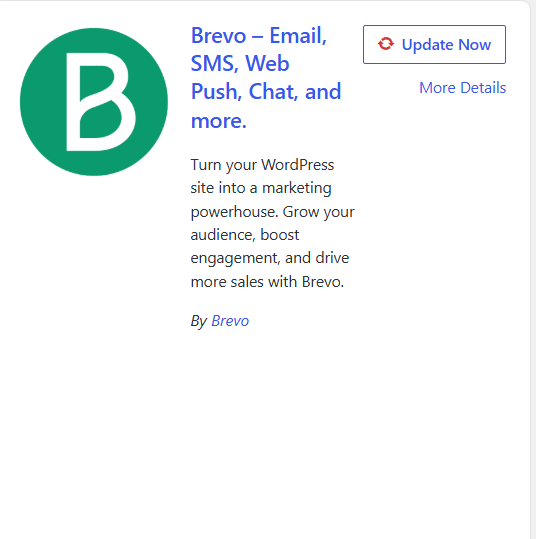
In WordPress admin, go to Plugins → Add New.
-
Search for "Brevo."
-
Click Install Now on the official Brevo plugin, then click Activate.
Connect the Plugin Using the API Key
6
-
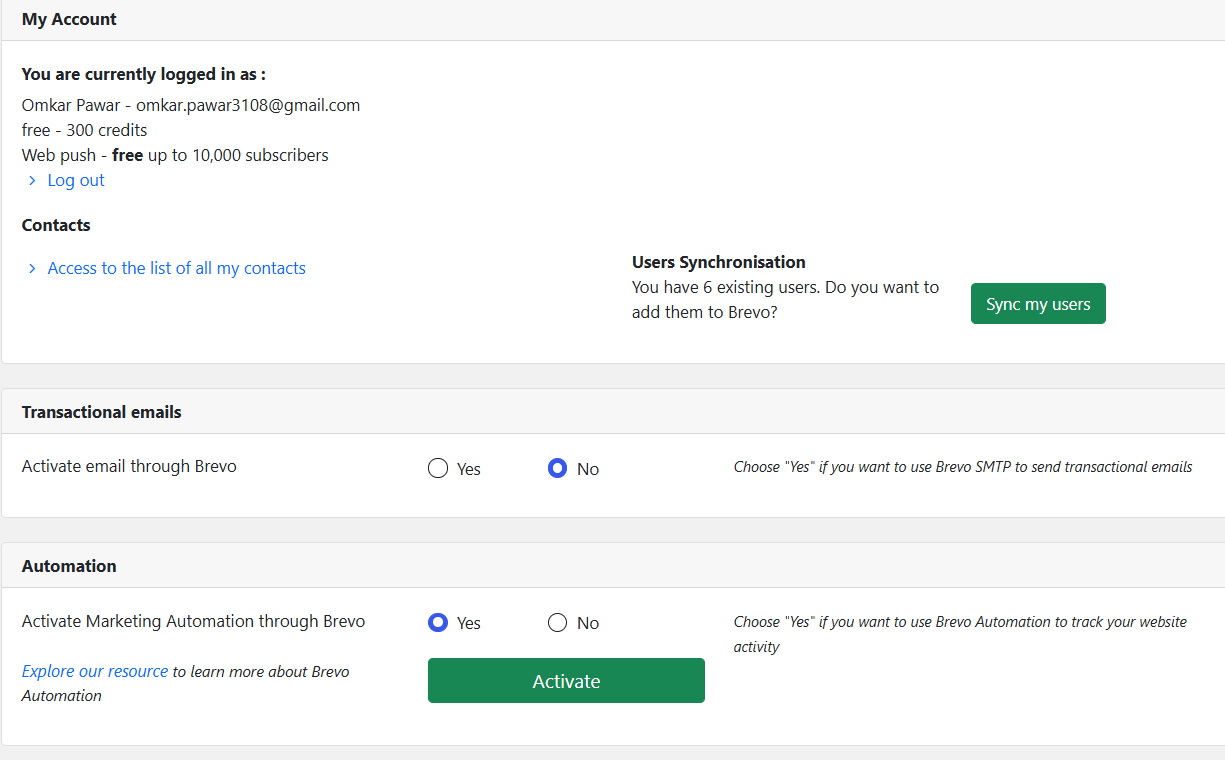
Go to the new Brevo menu item in the WordPress admin sidebar.
-
Paste the API key generated in Step 4 into the connection field.
-
Save, and confirm the plugin shows "Connected" to the Spice Garden Restaurant Brevo account.
Congratulations!
You have successfully completed Connect Website with Brevo
In this LAB, you learned how to:
-
Domain authentication (via CNAME records in Hostinger's DNS Zone) proves to Brevo that this account can legitimately send from spicegardenrestaurant.com.
-
The API key is what lets the WordPress plugin connect securely to the correct Brevo account — and should be handled like a password.
Checkpoint