Content ITV PRO
This is Itvedant Content department
Building My Appointments Module using React and Spring Boot
Business Scenario
The objective of this lab is to develop a My Appointments module in the Medicare Management System. The application retrieves only the appointments of the currently logged-in user by using the user's unique ID stored after login. The appointment details are fetched from the Spring Boot backend through REST APIs and displayed dynamically in the React frontend.
Introduction
A Hospital Management System contains multiple users and thousands of appointment records. Displaying every appointment to every user is neither secure nor useful. Therefore, each user should be able to view only their own appointments after successful login.
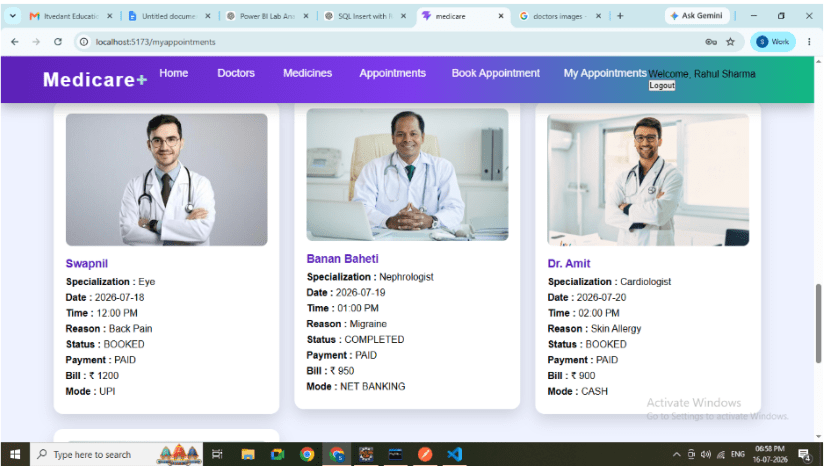
In this lab, the logged-in user's information is stored in Local Storage after authentication. React retrieves the stored user ID and sends it to the Spring Boot backend. The backend filters appointments using the user ID and returns only the relevant appointment records. These records are then displayed in an attractive card layout containing doctor details, appointment information, payment status, and billing details.
This implementation demonstrates secure data retrieval, frontend-backend integration, REST API communication, state management using React Hooks, and dynamic rendering using JSX.
Pre-Lab Preparation
Project Structure
Frontend
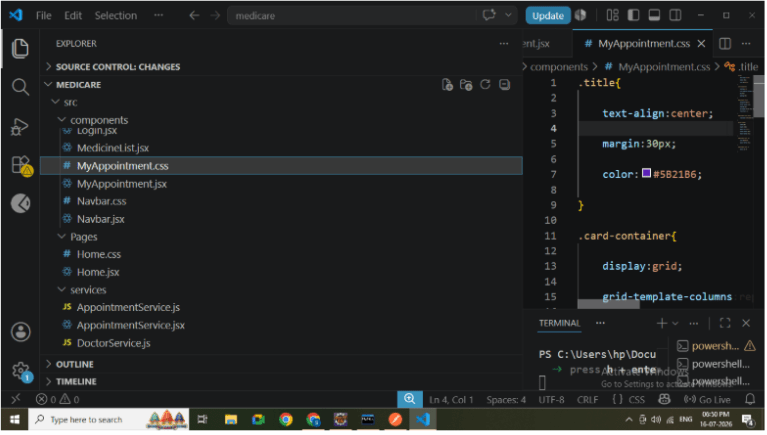
src
│
├── components
│ MyAppointment.jsx
│
├── services
│ AppointmentService.js
├── css
│ MyAppointment.css
│
└── App.jsx
Backend
controller
AppointmentController
service
AppointmentService
repository
AppointmentRepository
entity
Appointment
1
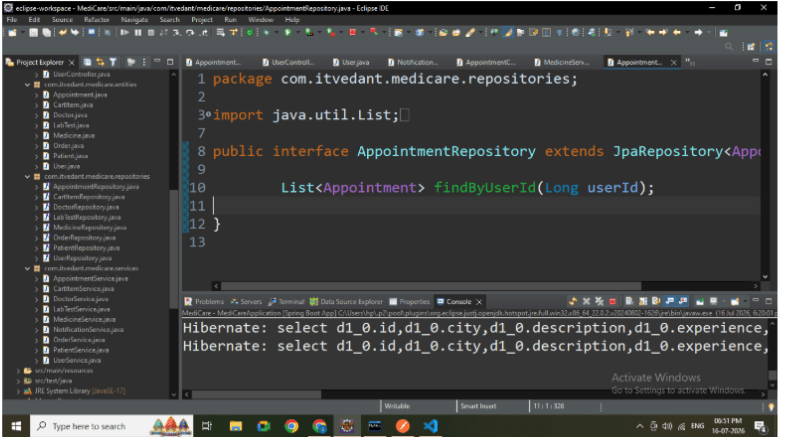
Create Repository Method
Create a repository method to retrieve appointments using the logged-in user's ID.
Responsibilities:
Receive user ID.
Search database.
Return matching appointments.
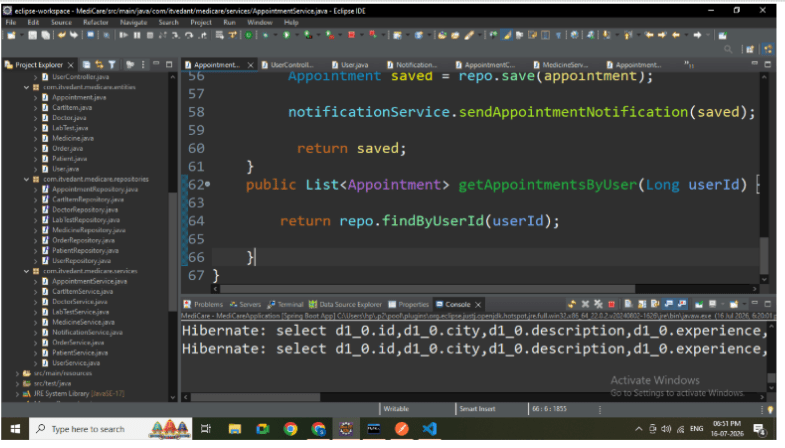
2
Create a service method that calls the repository.
Responsibilities:
Accept user ID.
Fetch appointments.
Return appointment list.
3
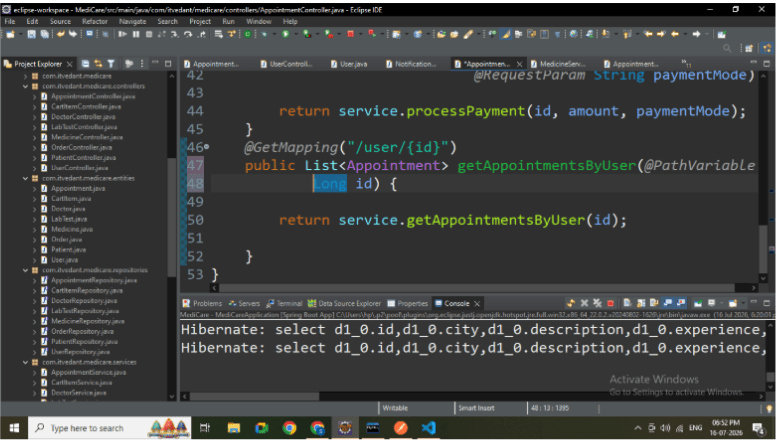
Create Controller API
Create a REST API.
Method
GET API
http://localhost:8080/api/appointments/user/{id}
Example
http://localhost:8080/api/appointments/user/1
Responsibilities:
Accept user ID.
Call service layer.
Return JSON response.
4
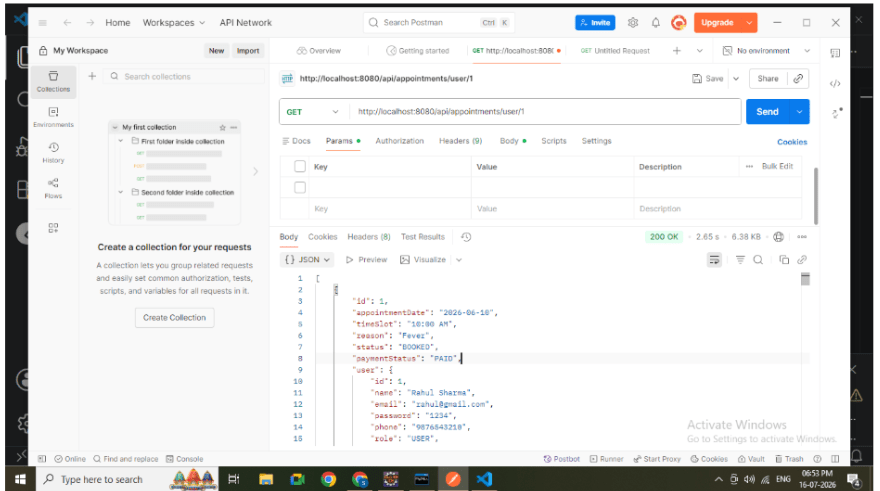
Test Backend API
Open Postman.
Select GET request.
Enter
http://localhost:8080/api/appointments/user/1
Verify:
Status Code 200 OK
JSON response
Nested User object
Nested Doctor object
5
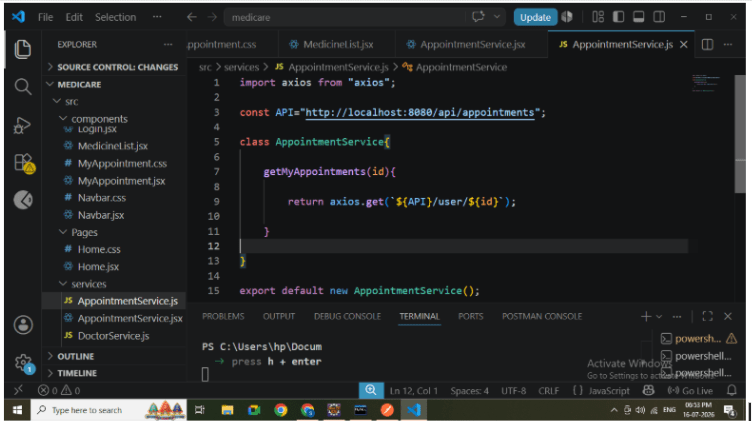
Create AppointmentService.js
Create a React service class.
Responsibilities:
Connect frontend with backend.
Send GET request.
Return API response.
6
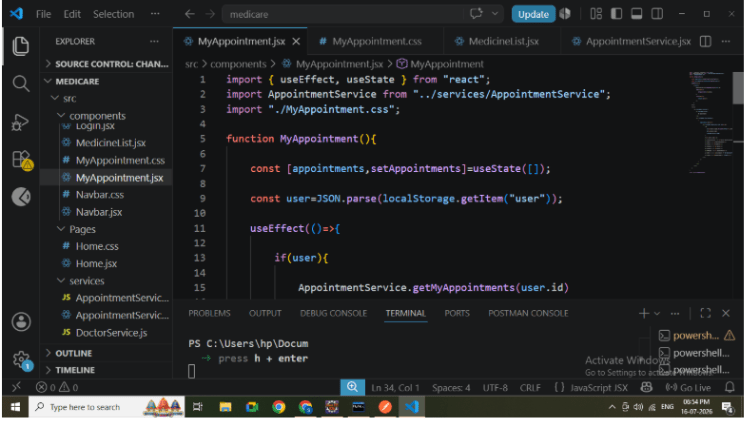
Create MyAppointment Component
Create MyAppointment.jsx.
Responsibilities:
Display appointment page.
Read logged-in user.
Call backend API.
Store appointments.
Display appointment cards.
7
Read Logged-in User
Retrieve user information from Local Storage.
Responsibilities:
Read user object.
Extract user ID.
Use ID while calling backend API.
8
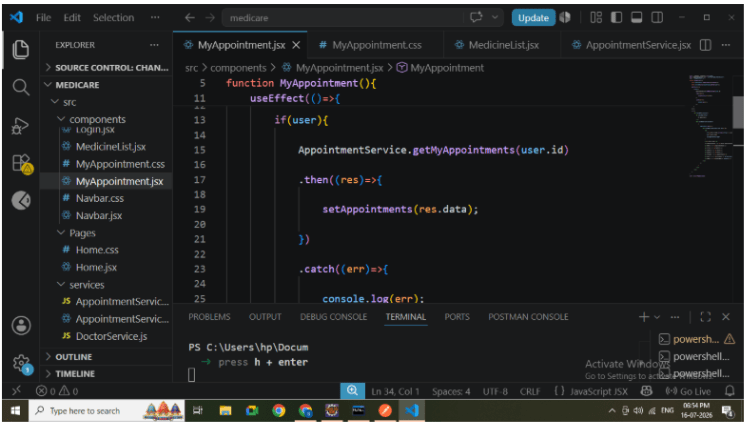
Fetch Appointment Data
Use useEffect.
Responsibilities:
Automatically execute after page load.
Call AppointmentService.
Retrieve appointment records.
Update state.
Axios API Call
9
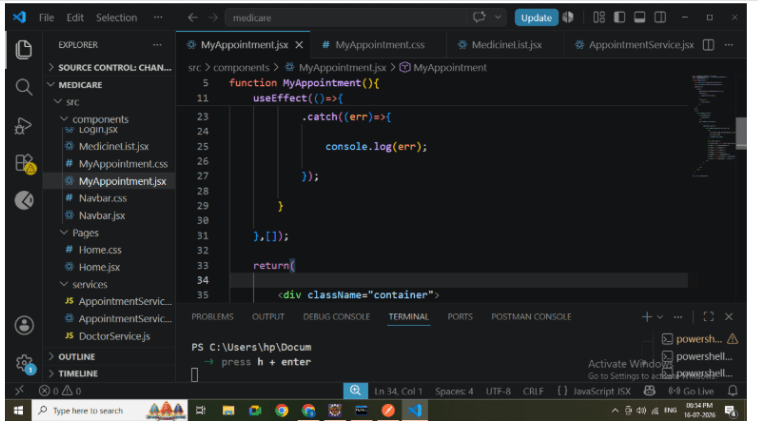
Store Response
Store backend response inside useState.
Responsibilities:
Maintain appointment list.
Trigger UI rendering.
Refresh component automatically.
10
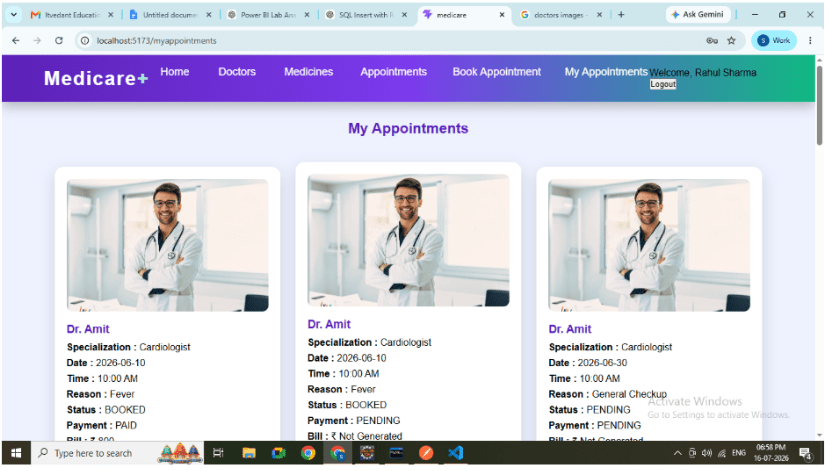
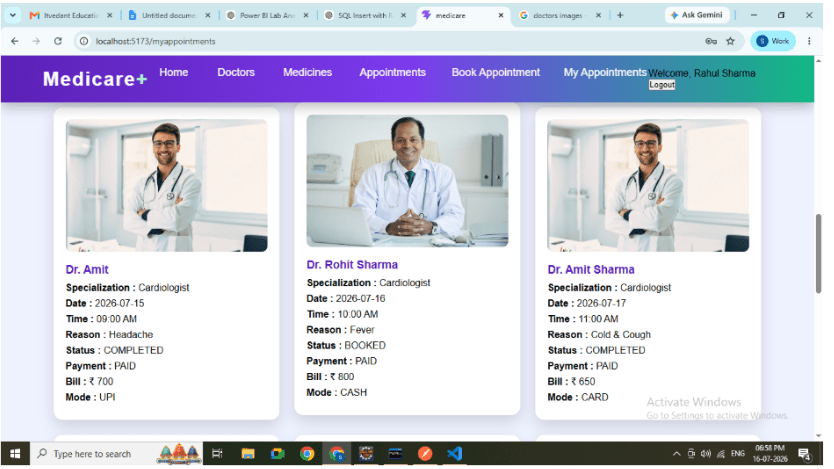
Display Appointment Cards
Create responsive appointment cards.
Each card displays:
Doctor Image
Doctor Name
Specialization
Appointment Date
Time Slot
Appointment Reason
Booking Status
Payment Status
Payment Mode
Bill Amount
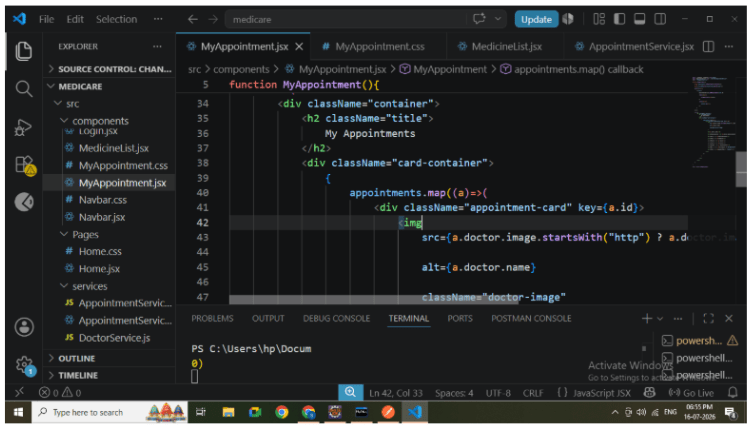
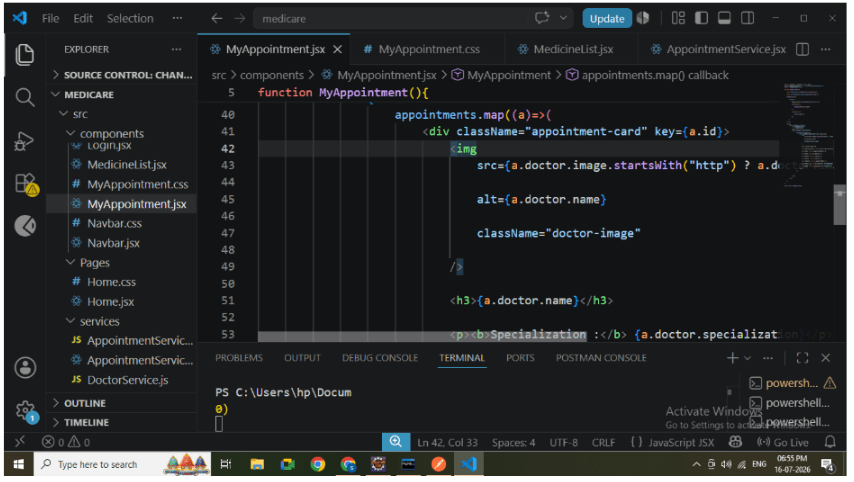
Display cards using map(). Appointment Cards
11
Display Doctor Image
Load doctor image dynamically.
Responsibilities:
Read image name.
Display image.
Handle local image folder.
Doctor Image Display
12
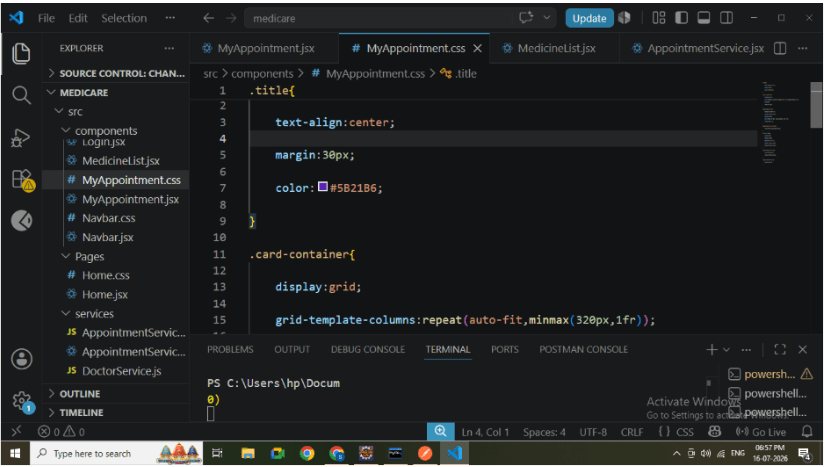
Design the page using CSS.
Apply:
Card Layout
Responsive Grid
Hover Animation
Rounded Corners
Shadow Effects
Image Styling
Purple and Green Theme
13
Configure Routing
Add routing.
Example : /myappointments
Update Navbar.
Add
"My Appointments"
navigation link.
Navigation Bar
14
Run Backend
Start Spring Boot application.
Verify:
Backend starts successfully.
API executes correctly.
Database connection established.
15
Run React Application
Execute
npm run dev
Verify:
React starts successfully.
My Appointments page opens.
React Console
16
Verify Output
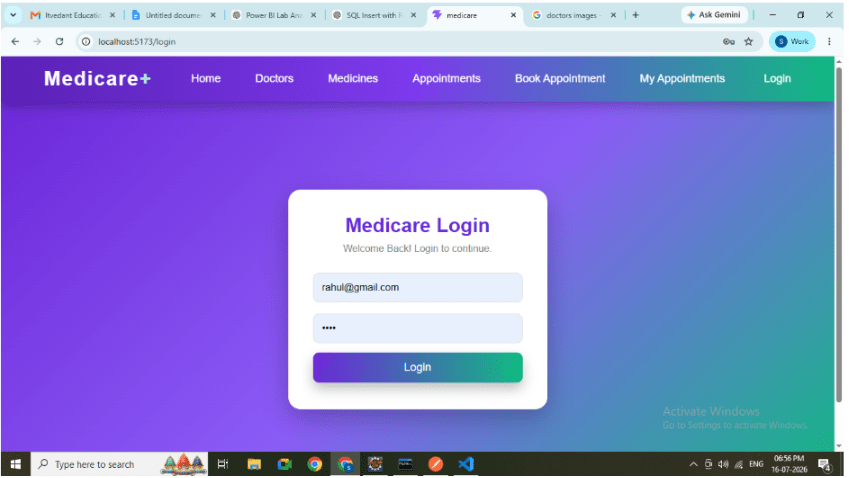
Login using a valid user.
Navigate to
My Appointments
Verify:
Only logged-in user's appointments are displayed.
Other users' appointments are hidden.
Doctor details appear correctly.
Payment details are visible.
Billing information is displayed.
APIs Used
Login API
POST
http://localhost:8080/api/users/login
Get User Appointments
GET
http://localhost:8080/api/appointments/user/1
Great job!
Checkpoint
By Content ITV