

Content ITV PRO
This is Itvedant Content department
Business Scenario
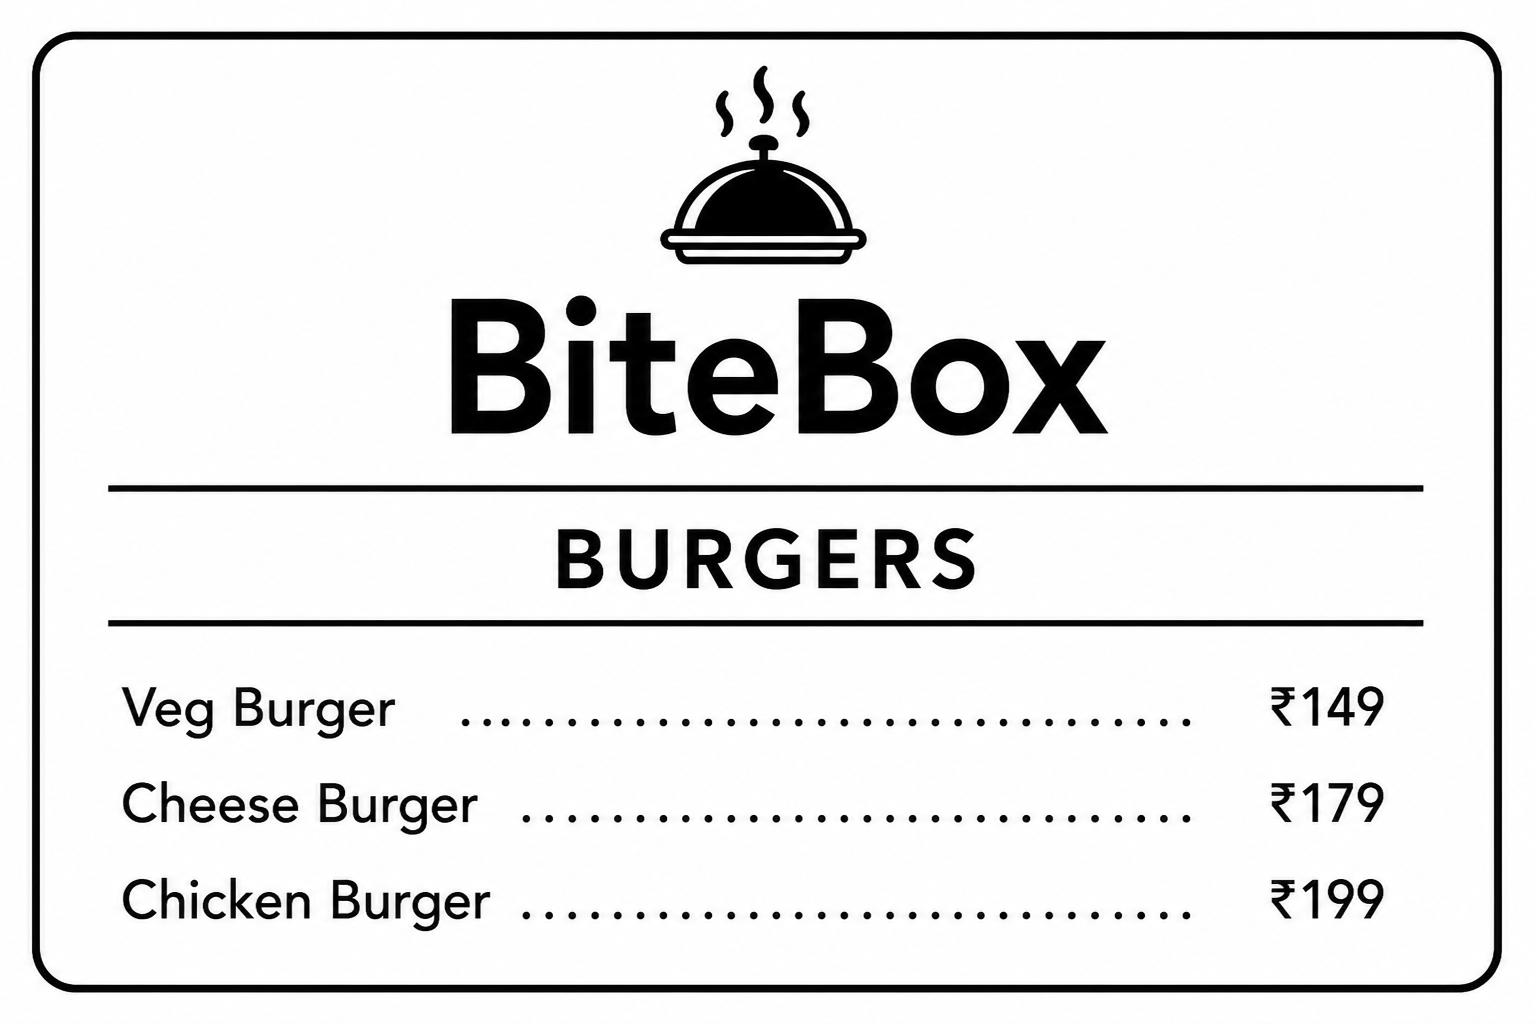
The BiteBox website now allows customers to browse the restaurant, explore menu items, and compare prices. However, customers still cannot place an order through the website.
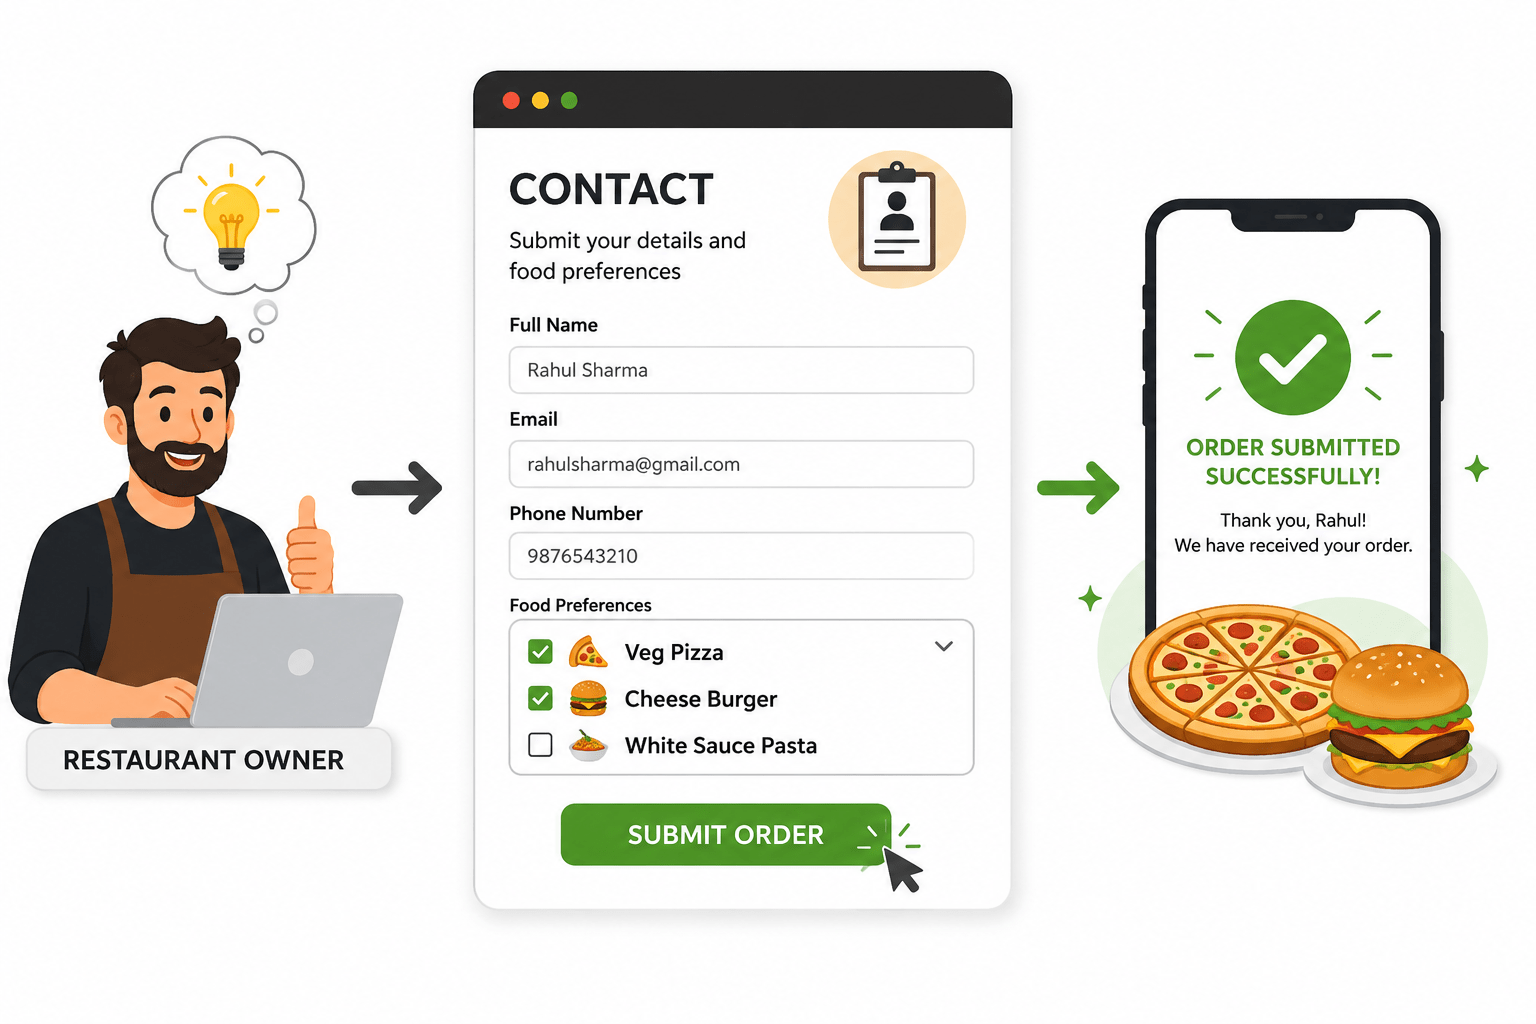
The restaurant owner wants to simplify the ordering process by allowing customers to submit their details and food preferences directly from the Contact page.
Pre-Lab Preparation
git pull origin branchNameGit Pull
As a Frontend Developer, your responsibility is to create a customer registration and food ordering form using HTML forms.
Module: Advanced HTML: Structure, Tables, Forms, and Media
1) Understanding of HTML Form
2) Understanding of various form elements
Task 1: Create the Customer Registration Form
<hr>

<h2>Customer Registration & Order Form</h2>

<form>


</form>
Open the contact.html - Scroll below the restaurant contact information.
1
Task 2: Add Customer information field
<hr>

<h2>Customer Registration & Order Form</h2>

<form>
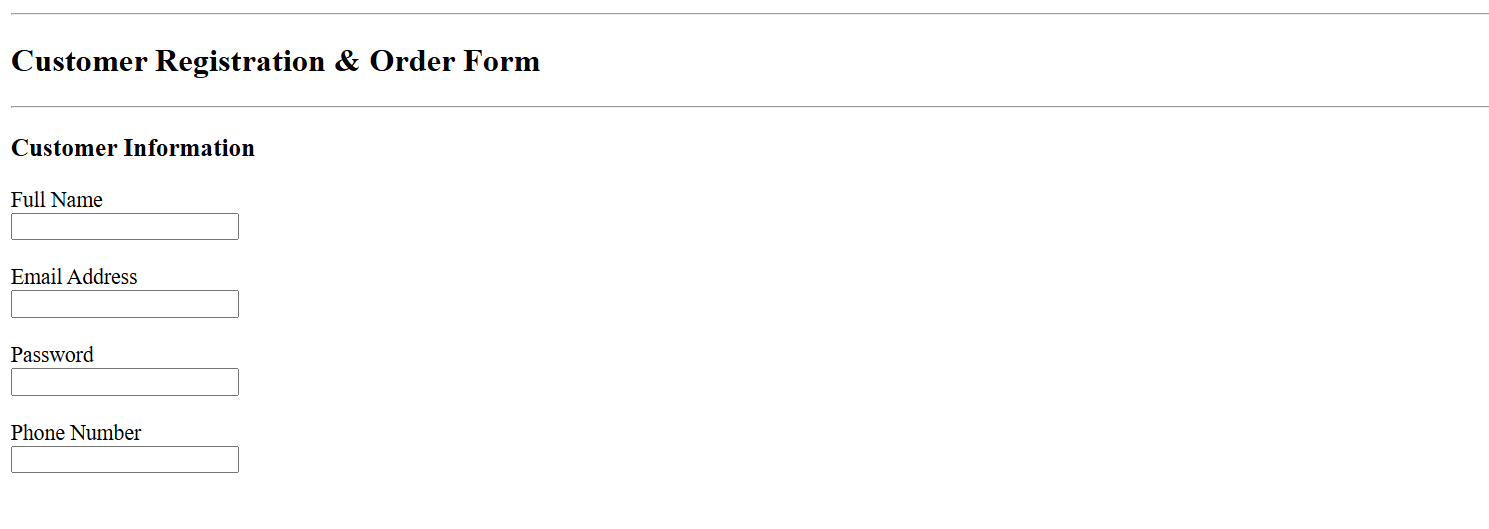
  <h3>Customer Information</h3>
  <label for="fullname">Full Name</label>
<br>
  <input type="text" id="fullname" name="fullname">
<br><br>

</form>
Inside the <form> element, add a section heading and add the Full Name field.
1
<label for="email">Email Address</label>
<br>
<input type="email" id="email" name="email">
<br><br>

<label for="password">Password</label>
<br>
<input type="password" id="password" name="password">
<br><br>

<label for="phone">Phone Number</label>
<br>
<input type="tel" id="phone" name="phone">
<br><br>
Add email address, password and phone number field
2
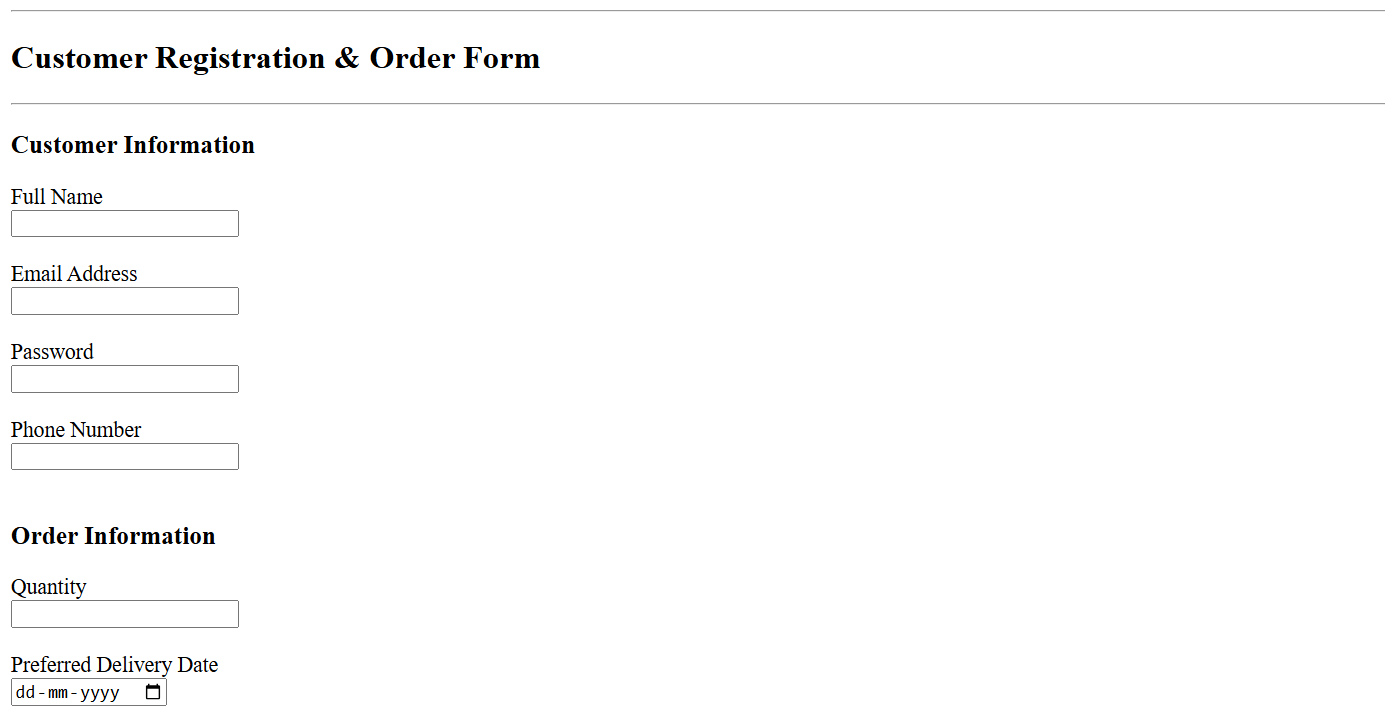
Check the Output
3
Task 3: Add Order information field
<h3>Order Information</h3>
<label for="quantity">Quantity</label>

<br>

<input
type="number"
id="quantity"
name="quantity">

<br><br>
After the Customer Information section, add a new heading and add the Quantity field.
1
<label for="deliveryDate">

Preferred Delivery Date

</label>

<br>

<input
type="date"
id="deliveryDate"
name="deliveryDate">

<br><br>
Add the Preferred Delivery Date field.
2
Check the output
3
Task 4: Create Food Selection Using Dropdown List
<label for="food"> Select Food Item </label>
<br>
<select id="food"
name="food">

<option>

Veg Pizza

</option>

<option>

Cheese Burger
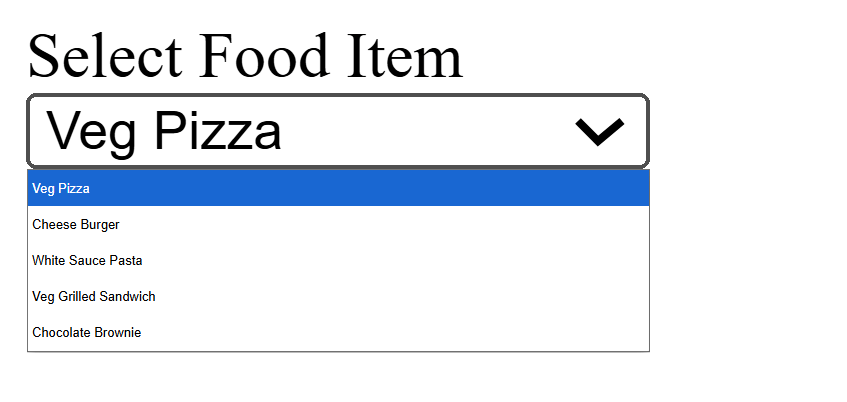
Add a label and create the dropdown.
1
</option>

<option>

White Sauce Pasta

</option>

<option>

Veg Grilled Sandwich

</option>

<option>

Chocolate Brownie

</option>
</select>
<br><br>
2
Check the output
Task 5: Add Payment Method Using Radio Buttons
<h3> Payment Method </h3>

<input type="radio" id="cash" name="payment">
<label for="cash"> Cash </label>
<br>

<input type="radio" id="card" name="payment">
<label for="card"> Card </label>
<br>

<input type="radio" id="upi" name="payment">
<label for="upi">UPI </label>
<br><br>
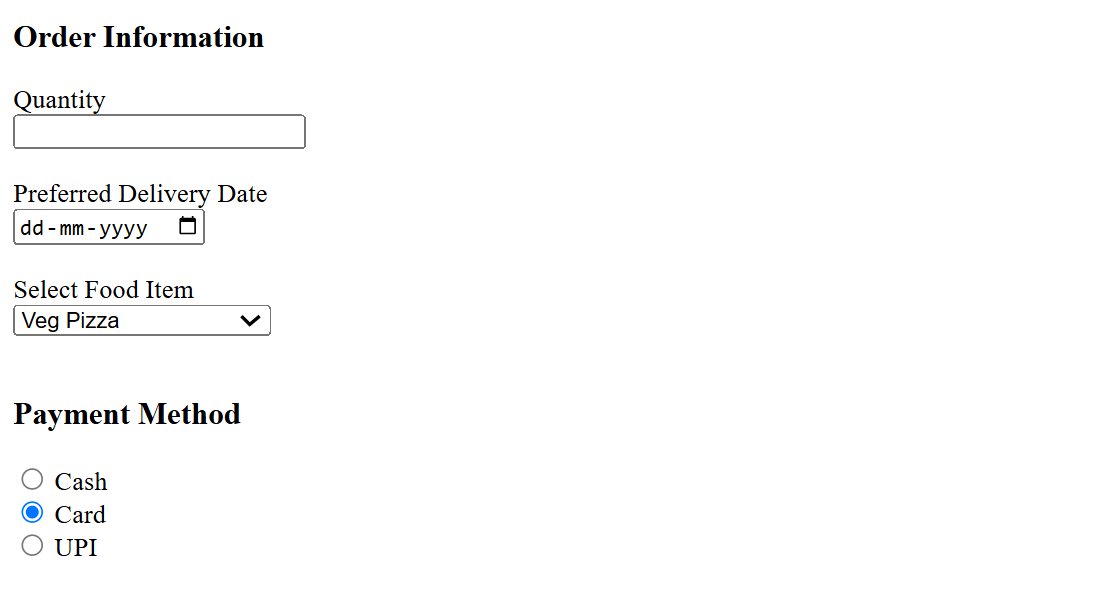
Add a section heading and Add the payment options.
1
Check the Output
2
Task 6: Add Extras Using Checkboxes
1
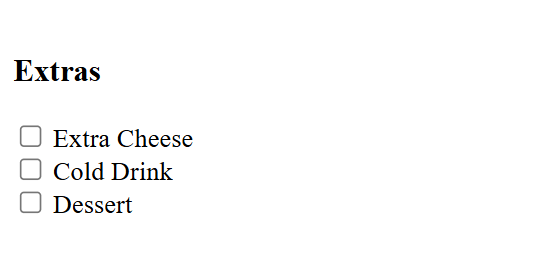
Add a heading and add the checkboxes.
<h3> Extras </h3>
<input type="checkbox" id="cheese" name="extras">
<label for="cheese"> Extra Cheese </label>
<br>

<input type="checkbox" id="drink" name="extras">
<label for="drink"> Cold Drink </label>
<br>

<input type="checkbox" id="dessert" name="extras">
<label for="dessert"> Dessert </label>
<br><br>
2
Check the output
Task 7: Add Delivery Instructions Using <textarea>
1
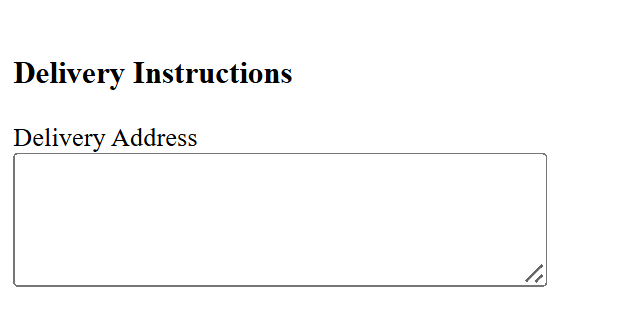
Add a heading as "Delivery Instruction " - Below the heading add a label and textarea
<h3>Delivery Instructions </h3>

<label for="address">

Delivery Address

</label>

<br>

<textarea id="address" name="address" rows="5" cols="40">
</textarea>

<br><br>
2
Check the output
Task 8: Add submit and reset button
1
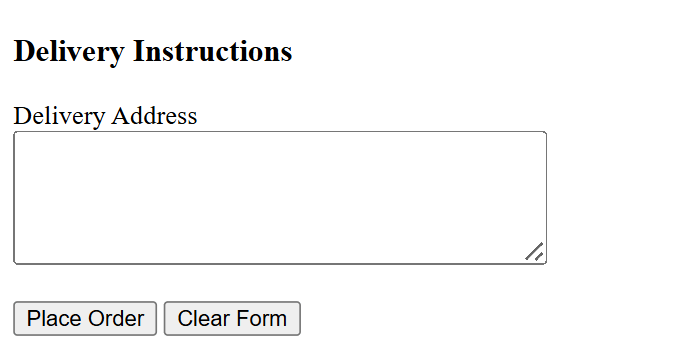
Add a submit and reset button below the textarea
<h3>Delivery Instructions </h3>
        <label for="address"> Delivery Address </label>
        <br>
        <textarea id="address" name="address" rows="5" cols="40">
        </textarea>
        <br><br>

        <input type="submit" value="Place Order">

        <input type="reset" value="Clear Form">

</form>
2
Check the output
Complete Solution
Contact Page (contact.html)
<!DOCTYPE html>
<html lang="en">

<head>
    <meta charset="UTF-8">
    <meta name="viewport" content="width=device-width, initial-scale=1.0">
    <title>Contact - BiteBox</title>
</head>

<body>
    <h1> Contact Us </h1>
    <p>
        <a href="index.html">Home</a>
        |
        <a href="menu.html">Menu</a>
        |
        <a href="about.html">About</a>
|
<a href="contact.html">Contact</a>
</p>
<h2> Visit Our Website </h2>
<p>
<a href="https://www.google.com">
Visit Google
</a>
</p>
<hr>
<!--Customer Registeration form -->
<h2>Customer Registration & Order Form</h2>
<hr>
<form>
<h3>Customer Information</h3>
<label for="fullname">Full Name</label>
<br>
<input type="text" id="fullname" name="fullname">
<br><br> <label for="email">Email Address</label>
<br>
<input type="email" id="email" name="email">
<br><br>
<label for="password">Password</label>
<br>
<input type="password" id="password" name="password">
<br><br>
<label for="phone">Phone Number</label>
<br>
<input type="tel" id="phone" name="phone">
<br><br>
<h3>Order Information</h3>
<label for="quantity">Quantity</label>
<br>
<input type="number" id="quantity" name="quantity">
<br><br>
<label for="deliveryDate">
Preferred Delivery Date
</label>
<br>
<input type="date" id="deliveryDate" name="deliveryDate">
<br><br>
<label for="food"> Select Food Item </label>
<br><select id="food" name="food">
<option>
Veg Pizza
</option>
<option>
Cheese Burger
</option>
<option>
White Sauce Pasta
</option>
<option>
Veg Grilled Sandwich
</option>
<option>
Chocolate Brownie
</option>
</select>
<br><br>
<h3> Payment Method </h3>
<input type="radio" id="cash" name="payment">
<label for="cash"> Cash </label>
<br>
<input type="radio" id="card" name="payment">
<label for="card"> Card </label>
<br> <input type="radio" id="upi" name="payment">
<label for="upi">UPI </label>
<br><br>
<h3> Extras </h3>
<input type="checkbox" id="cheese" name="extras">
<label for="cheese"> Extra Cheese </label>
<br>
<input type="checkbox" id="drink" name="extras">
<label for="drink"> Cold Drink </label>
<br>
<input type="checkbox" id="dessert" name="extras">
<label for="dessert"> Dessert </label>
<br><br>
<h3>Delivery Instructions </h3>
<label for="address"> Delivery Address </label>
<br> <textarea id="address" name="address" rows="5" cols="40"> </textarea>
<br><br>
<input type="submit" value="Place Order">
<input type="reset" value="Clear Form">
</form>
</body>
</html>
Great job!
You built a structured HTML form to collect customer information.
Checkpoint
Git Push
git push origin branchNameNext-Lab Preparation
Module: CSS Foundations and Text Styling
1) Getting Started With CSS
2) Understanding different types of css
By Content ITV